How to make a template for your photo booth
Even though your photo booth comes preloaded with various template designs and layouts, we understand that you may want to create your own designs. Although our members area contains all the information you need, we still often get asked, “how do I make my photo booth template?” Hopefully this article will guide you further:
What software do I need to create a photo booth template?
Depending on the design of your ideal photo booth template, will depend on what software to use. If you are looking for something basic, on Windows, we recommend using your free program, Paint. For something more advanced, and for Apple Mac users, we strongly encourage you to use adobe Photoshop and/or Adobe Illustrator.
Step 1: Set your size (remember, the photo booth template is landscape)
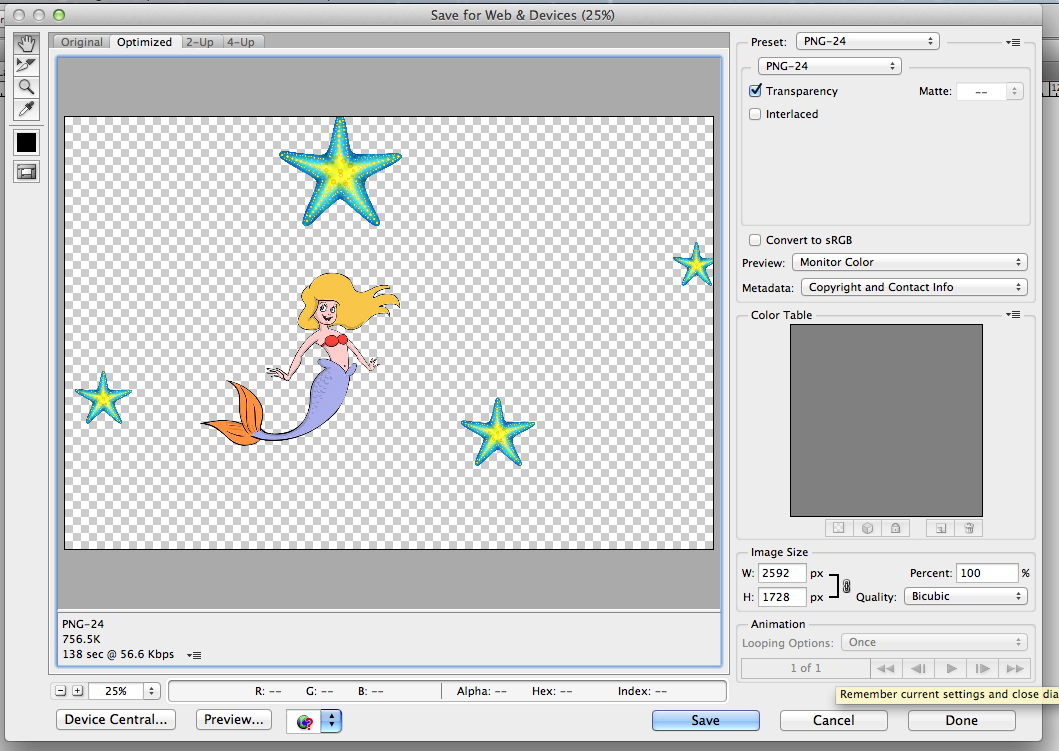
Whatever software you are using, the size of “canvas” or “document” will need to be set to the size of your photo booth prints. This size is: 2592 (w) x 1728 (h) pixels
Please note, this will be different if you are trying to design a strip print layout.
Important to know: Your Photo Booth prints are made with 3 layers. These are:
Layer 1: The background (The customer photo will be layered on top of this)
Layer 2: The customer photo
Layer 3: Logos, Effects, Borders (Anything you want to go over the top of the customer photo)
Step 2: Finding a background image (Layer 1)
The background image will be, the background. This will be underneath any customer photos that are taken. Most customer choose either a plain colour, or a plain, neutral pattern.
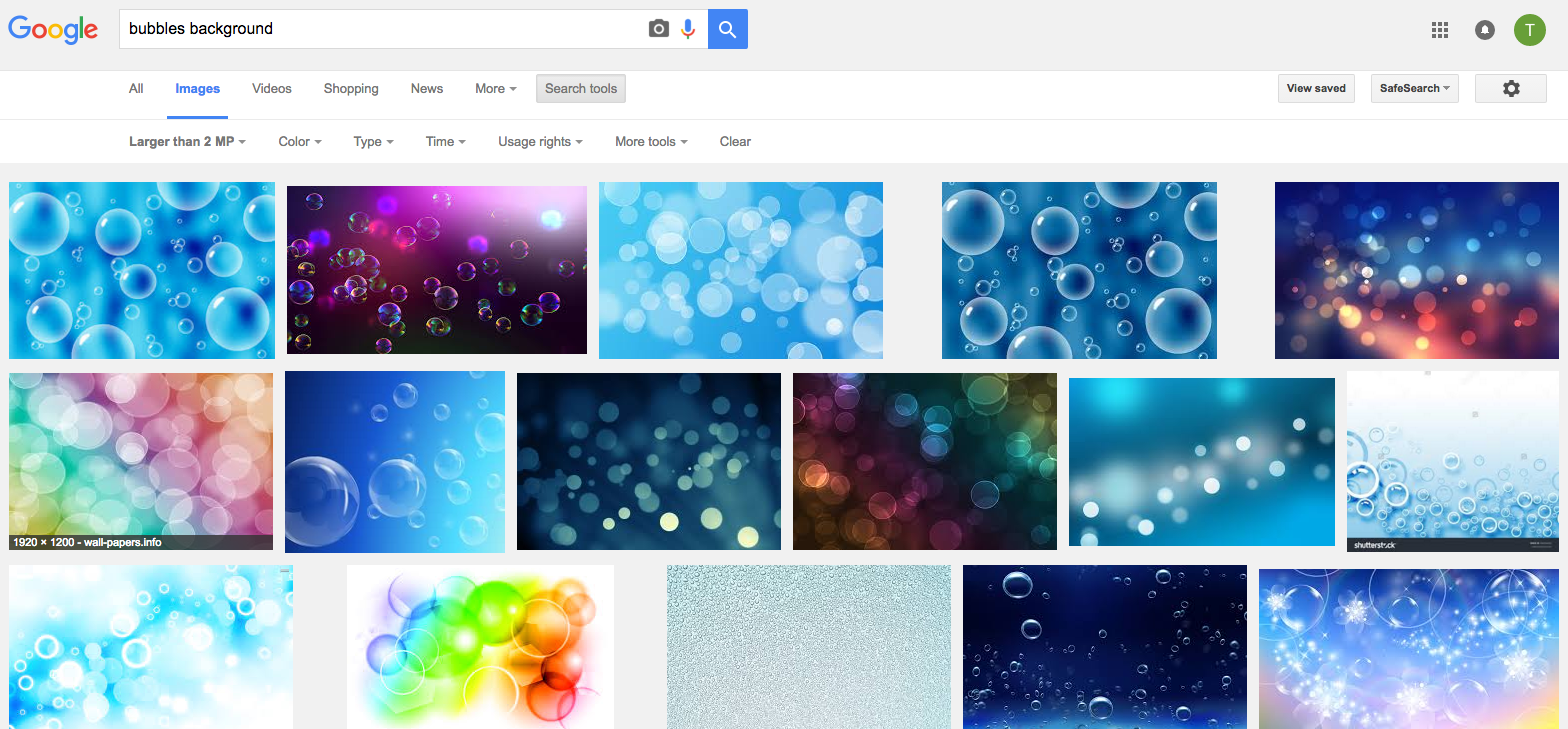
How to find a background image:
With an idea of what you would like to be your background image, perform a search in Google images, but ensure you use the “Search Tools” box and change the “Any Size” drop down box to “Larger than 2MP” – this will make sure that your background will be large enough, as otherwise if you manually expand it, your background may become pixelated/blurry.
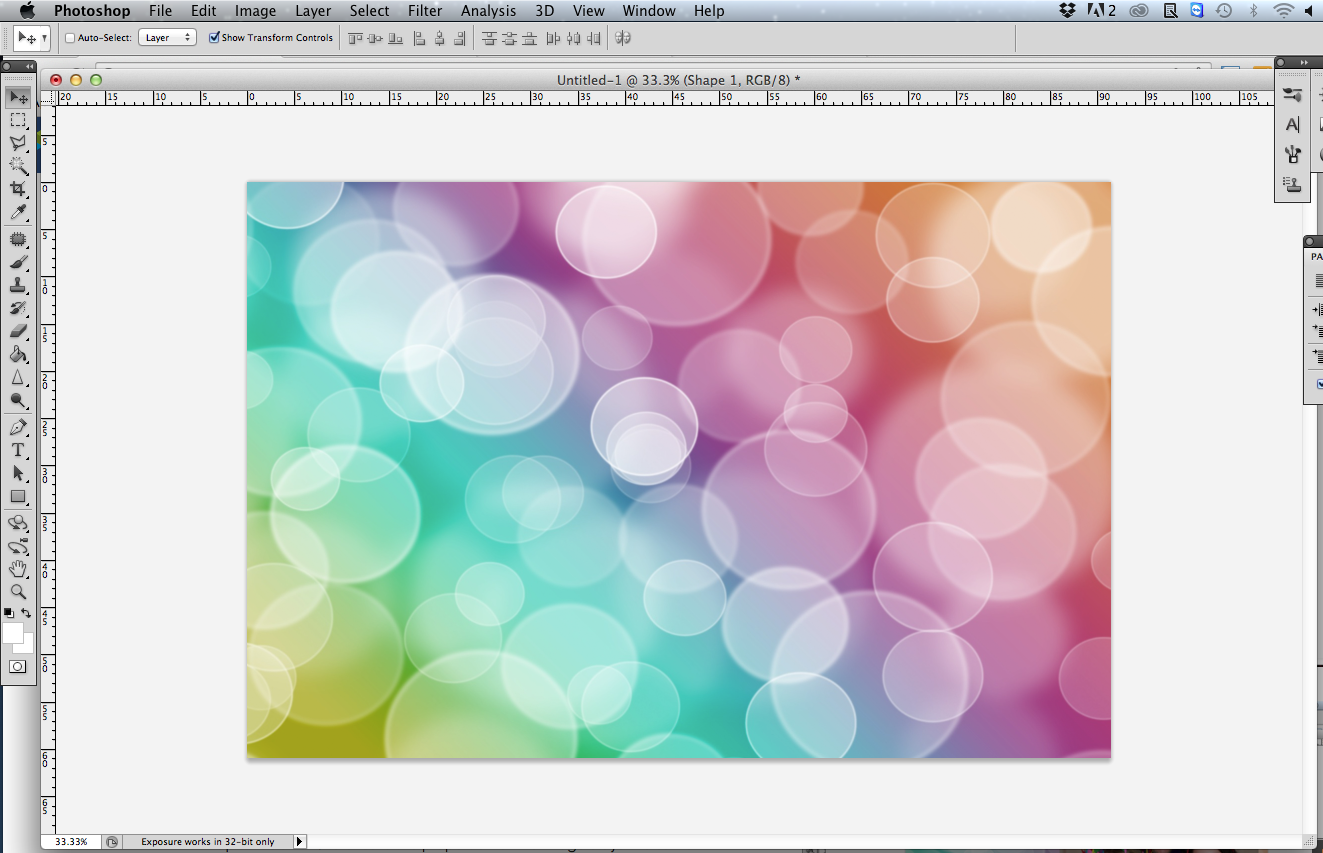
Step 3: Laying and Fitting your Background (Layer 1)
Once you have opened an image you would like to use on Google, Right Click, and Copy. Then go into your editing software (Either Paint, Photoshop, or Adobe) and paste the image ontop of your blank canvas. You may need to shrink your image for it to fit (but don’t worry, reducing an image won’t cause pixelation)
Step 4: Marking out your background (Layer 1)
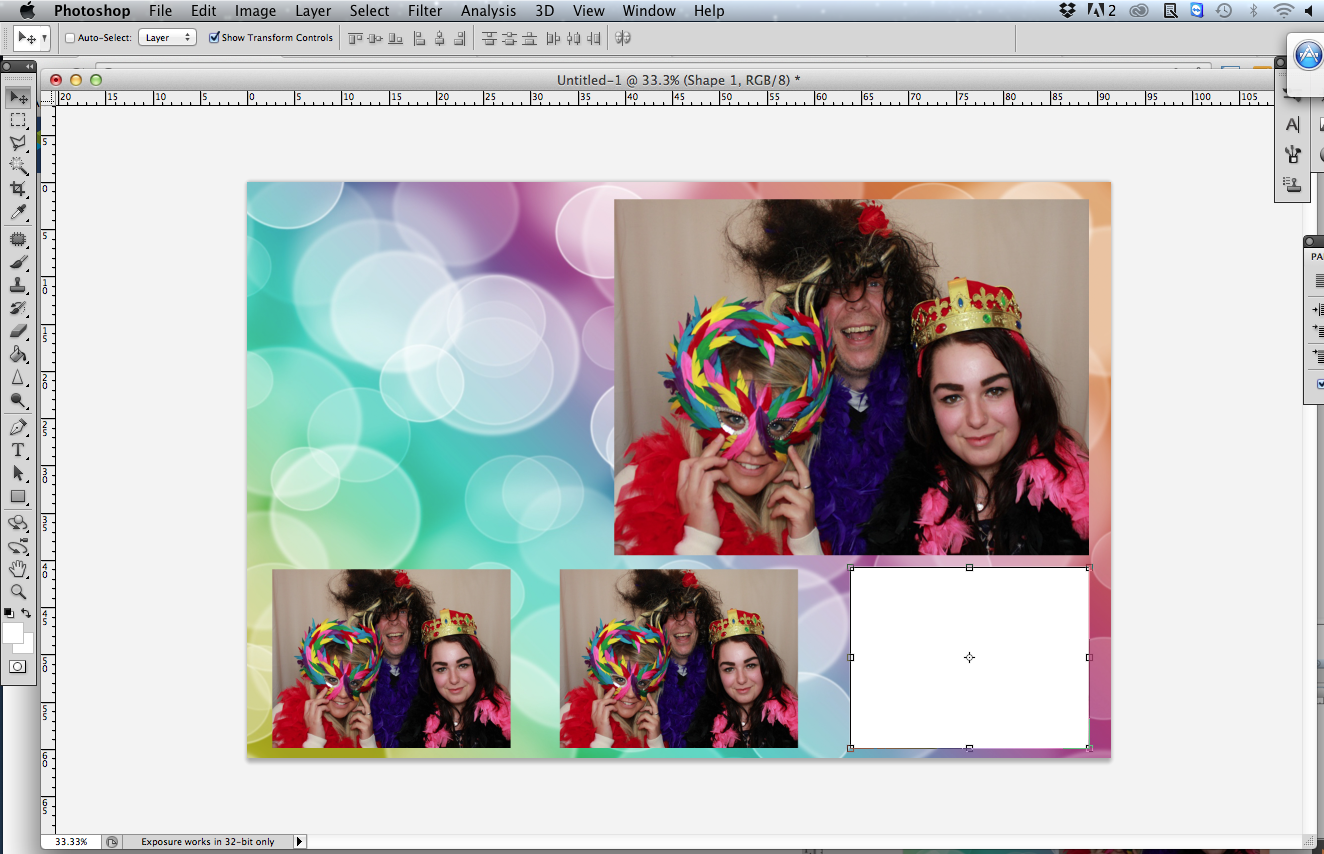
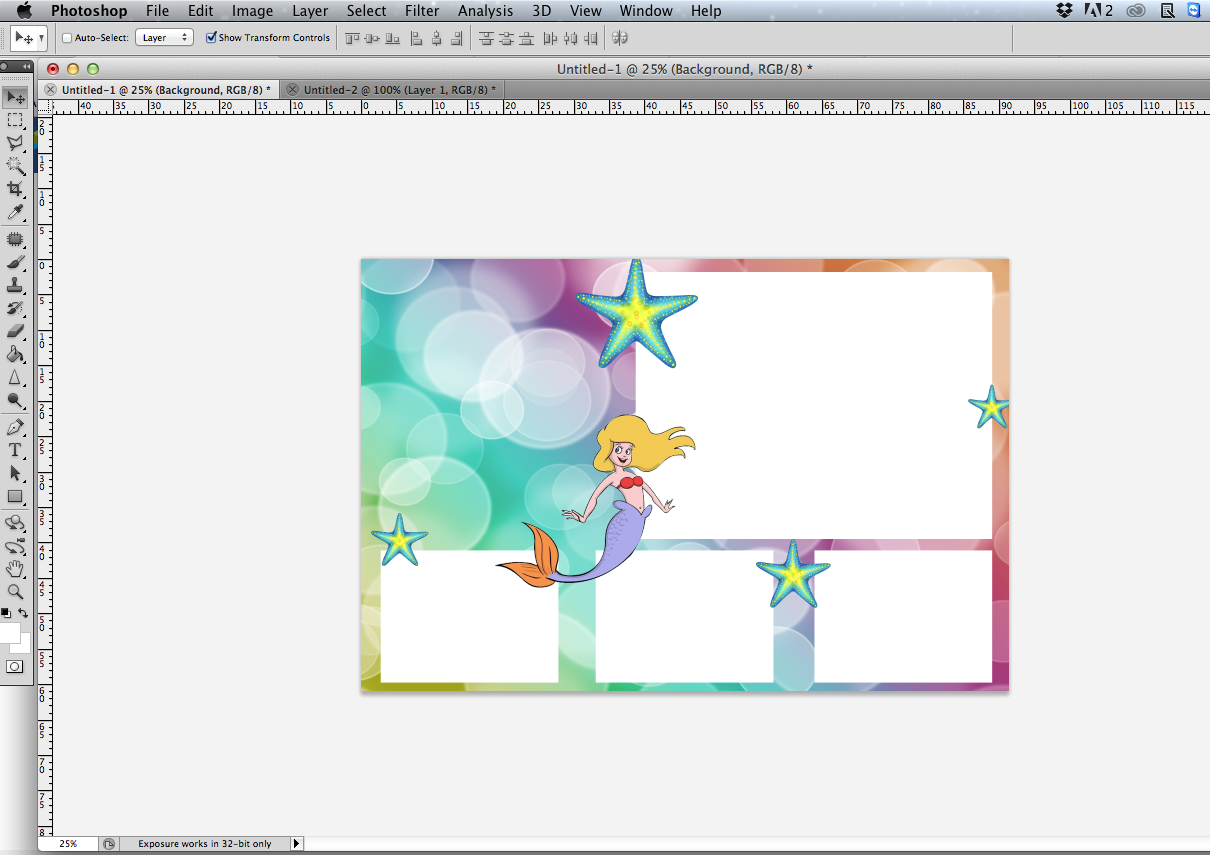
We recommend marking out your background by copying and pasting a full screen photo you have taken on your photo booth, and shrinking it the size you will want on your new template. Remember to hold the shift button (the upwards arrow) to ensure the proportion of the image stays the same.
It is not essential, but once you have done this, we recommend putting white squares on top of them, so that it is clearer when uploaded on the photo booth where your new images will be going.
Step 5: Saving your photo booth template background (Layer 1)
Once you have your background all marked up, it’s ready to be saved. Make sure you save it with a memorable name and it’s extension is a .jpg file. Eg. BubblesMultiBackground.jpg
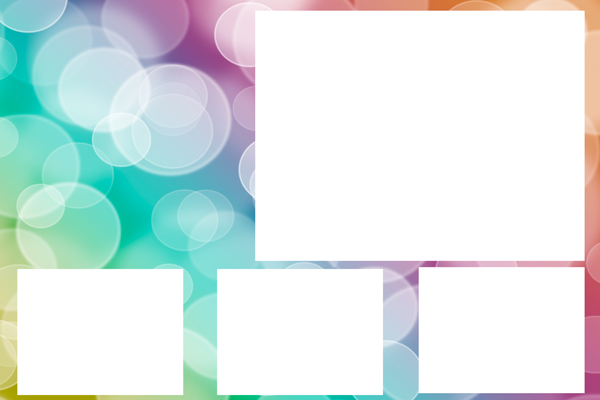
At this stage you may just be happy with a standard background, however some customers like to add effects on top. If you would like to do this, keep the canvas size the same as before.
Step 6: Finding some overlay graphics (Layer 3)
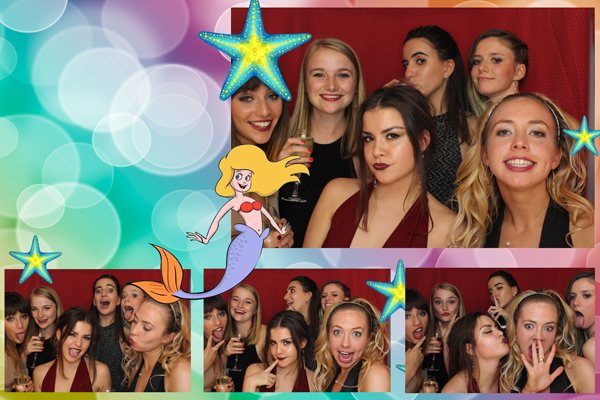
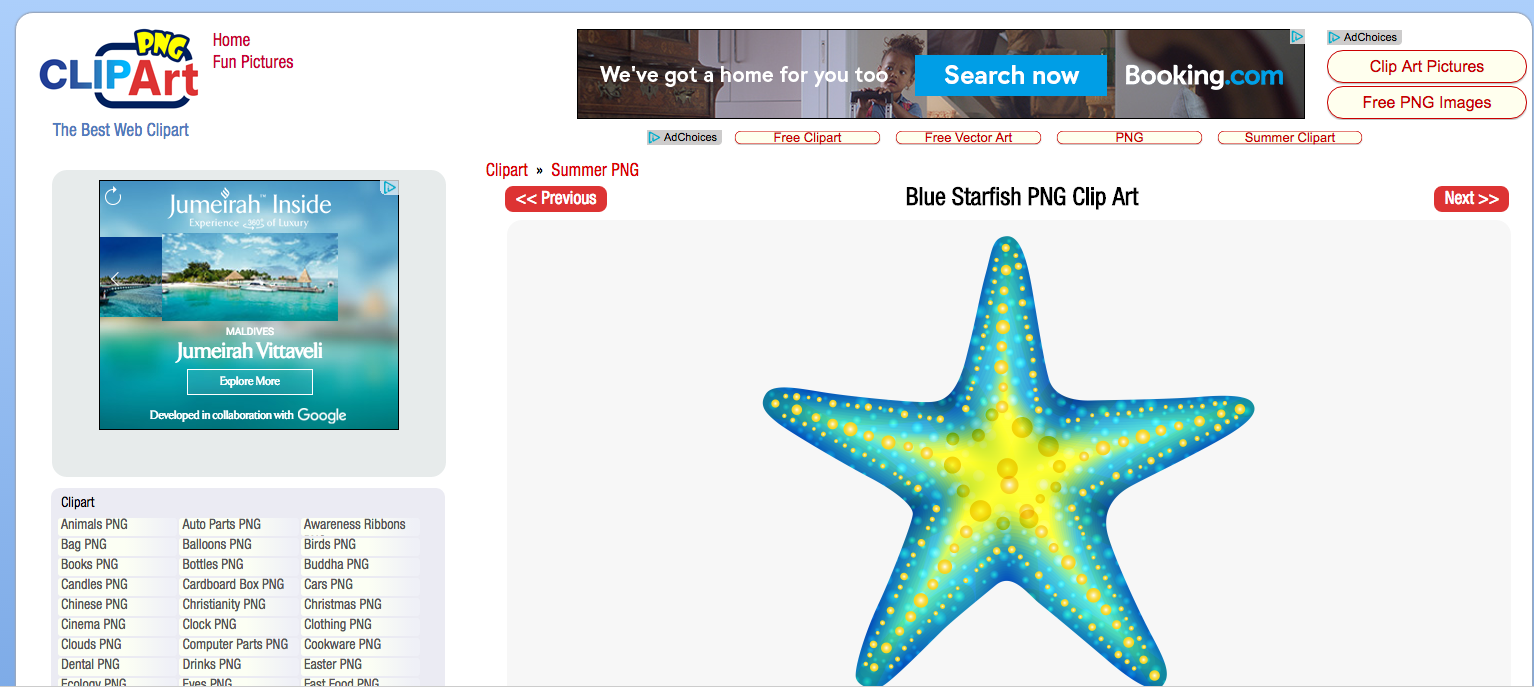
Now that you have your background, and imagine the customer photos will be on top, you can now add your final and third layer of extra graphics. This is a .png file, which means the background of the graphic is transparent. When looking for some graphics, use Google and search for images with png at the end. Example “Starfish png“
You will notice if the graphic is a png file because the background will be grey. Like this starfish as an example. This will mean when you copy and paste the image, it will apply straight onto your background neat and tidyly.
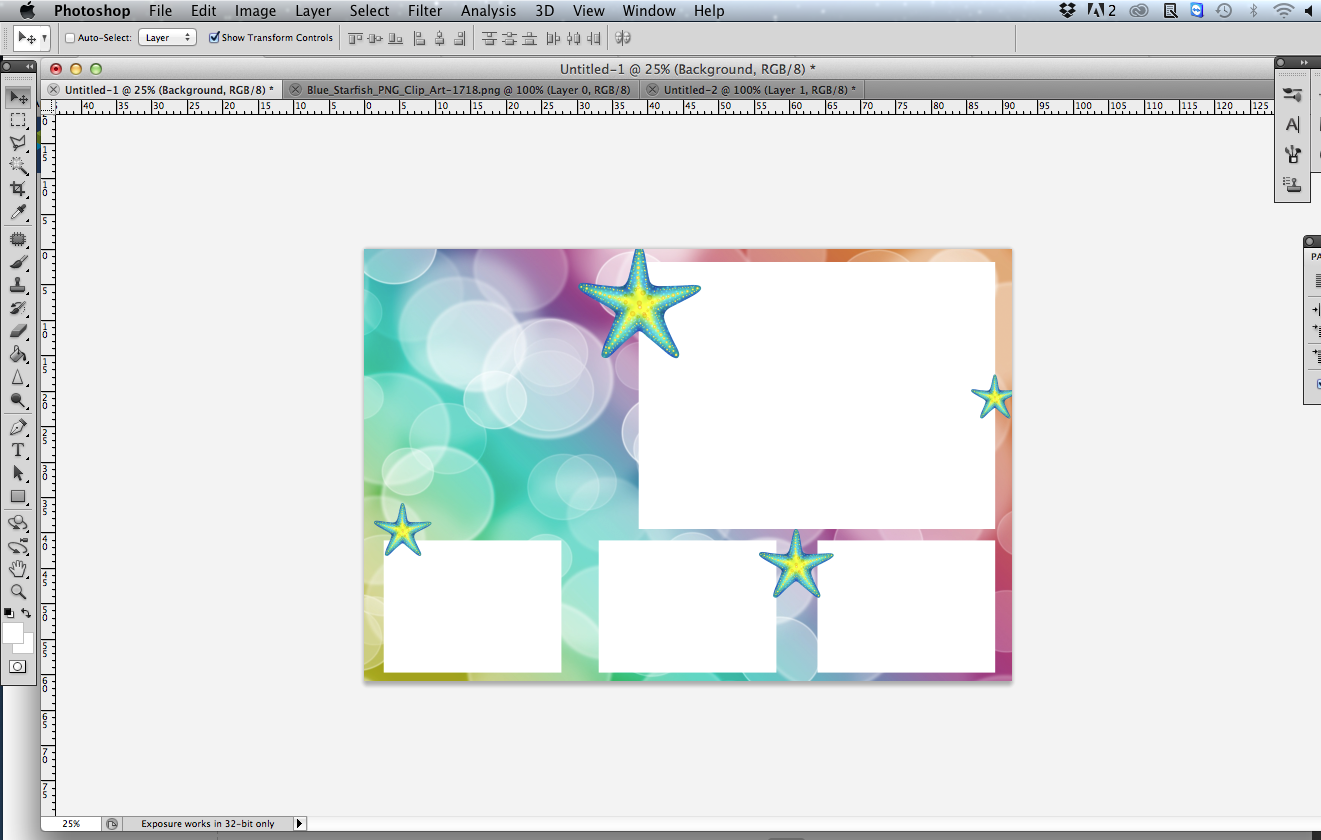
Step 7: Help! There is a background to my graphics! (Layer 3)
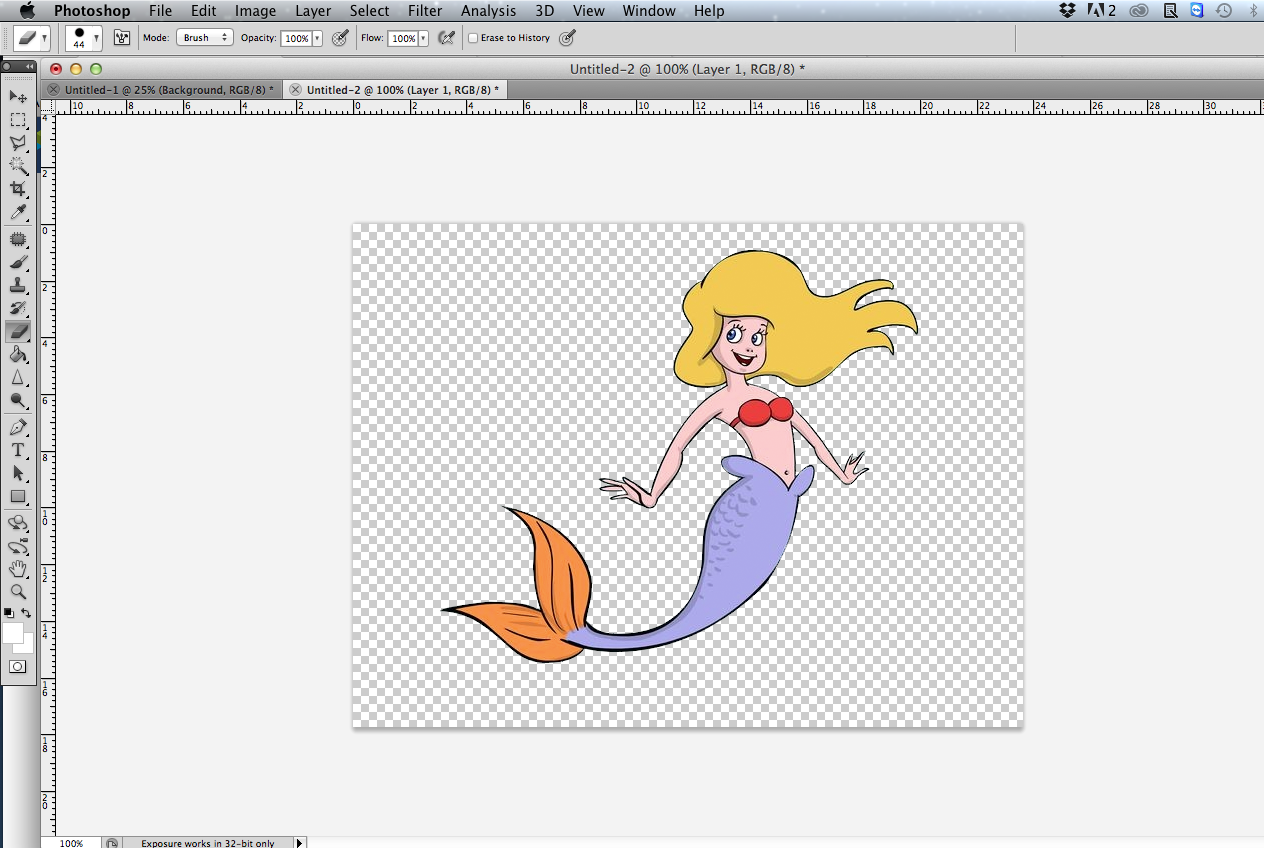
If you cannot find a graphic without a background, don’t worry, you may be able to delete it still. All you need to do is open the graphic up in a new window, and either use your eraser to remove the background, or the easier option is to use Photoshop to use the select and delete tool. Once you’ve removed the background, copy and paste it back onto your file.
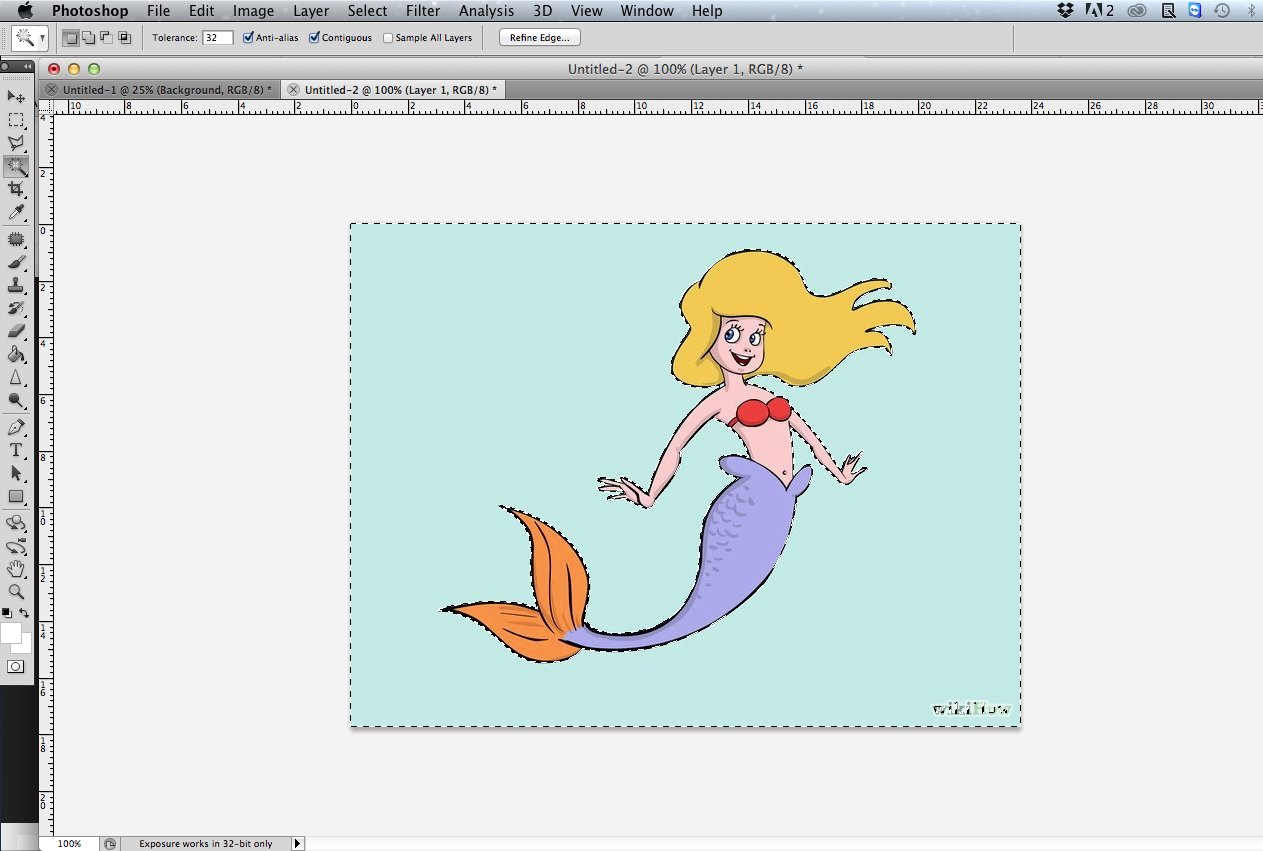
Step 8: Saving my overlays (Layer 3)
Here’s the important part. Your overlay file (Layer 3) needs to be on a transparent background, so delete everything apart from the graphics you have just added. If you are using Paint, it may be easier to open a new window and copy and paste all graphics into a new document (using the same dimensions)
Make sure this file is saved as a transparent .png file
Step 9: Adding your files to your Photo Booth
And here is when you make the magic happen, adding your files to your photo booth.
Windows
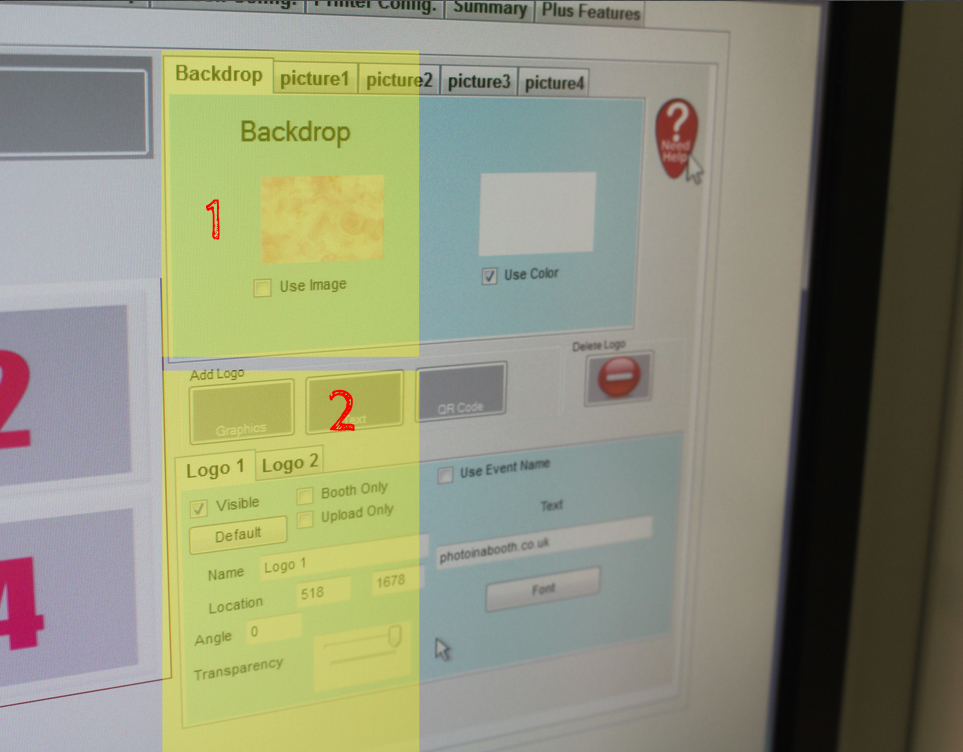
- Upload your background (.jpg)
- Upload your third layer (.png) as a Logo file
- Adjust the setting to get everything into position
Apple Mac
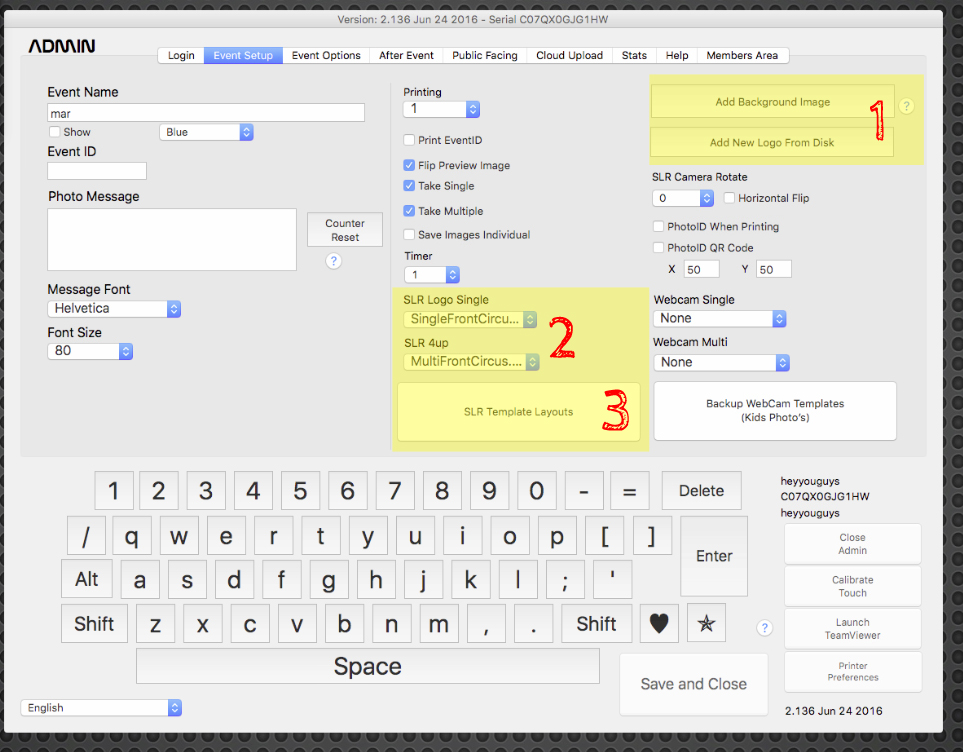
- Upload your background (.jpg) & Upload your third layer (.png) as a Logo file
- Select your third layer (logo) from the appropriate drop down- SLR 4up is Multi
- Go to the SLR template Layouts
- Adjust the settings to get everything into position
NEXT STEPS
Still have some questions? Not sure this is the opportunity for you?
Pop into our showroom and we can talk you through all of our products and the opportunities they provide. All visits are free of charge with no obligation to buy.

 Born in Malta in January 1989, Maurizio has always dreamt of doing something impossible in his life. That’s exactly what he has done a few years ago when he decided to leave everything and moved to the West Midlands. His Passion was also another reason why he has chosen the West Midlands – West Bromwich Albion. Worked in different industries, like tourism, advertising, construction and entertainment, finance was always something that he wanted to do. Asking who Maurizio is to his friends, you would have one simple answer, – Joker, A Caring Person and a Plane Spotter.
 Been in or around engineering/manufacturing my entire life, grandparents who let you build cars with them have their uses!!
 After spending 4 years in Leicester studying physics where my final dissertation project was heavily programming based I was keen to begin a career in software development. Working on Photobooths seemed like a fun and interesting place to start.
 From College went into the family run business – Advertising Agency. Eventually took over the reins of the company and moved it into a more technical direction. After retirements changed the dynamic of the company we changed direction to a Direct Mailing Company specialising in digital and mailing’s for Electricity companies (MEB, British Gas, nPower). After a profitable run I felt a change was needed and so started a Programming and Consultancy Business. This eventually led me to the world of PhotoBooths and beyond.